In this guide, we will discuss step-by-step instructions on how to install an ATX motherboard. The ATX form factor is one of the most common motherboard sizes used in personal computers. Whether you are building a new PC or upgrading an existing one, installing an ATX motherboard can seem daunting at first. However, by following these instructions carefully, you will be able to successfully install an ATX motherboard and enjoy the benefits of a powerful and efficient system. Let's get started!
Before you begin installing the ATX motherboard, it is important to prepare the necessary tools and components. Make sure you have a clean and well-lit workspace with ample room to work comfortably. Here are the tools and components you will need:
Now that you have gathered all the necessary tools and components, let's begin installing the ATX motherboard. Follow these steps carefully:
Start by opening the computer case. Remove the side panel on the case to gain access to the internal components. You may need to unscrew or slide open the panel, depending on the design of your case. Place the panel aside in a safe location.
Locate the motherboard standoffs in the computer case. These are small brass or metal pillars that elevate the motherboard off the case, preventing it from touching any metallic surface. Screw the standoffs into the designated mounting holes on the case. Ensure that you align the standoffs with the corresponding holes on the motherboard.
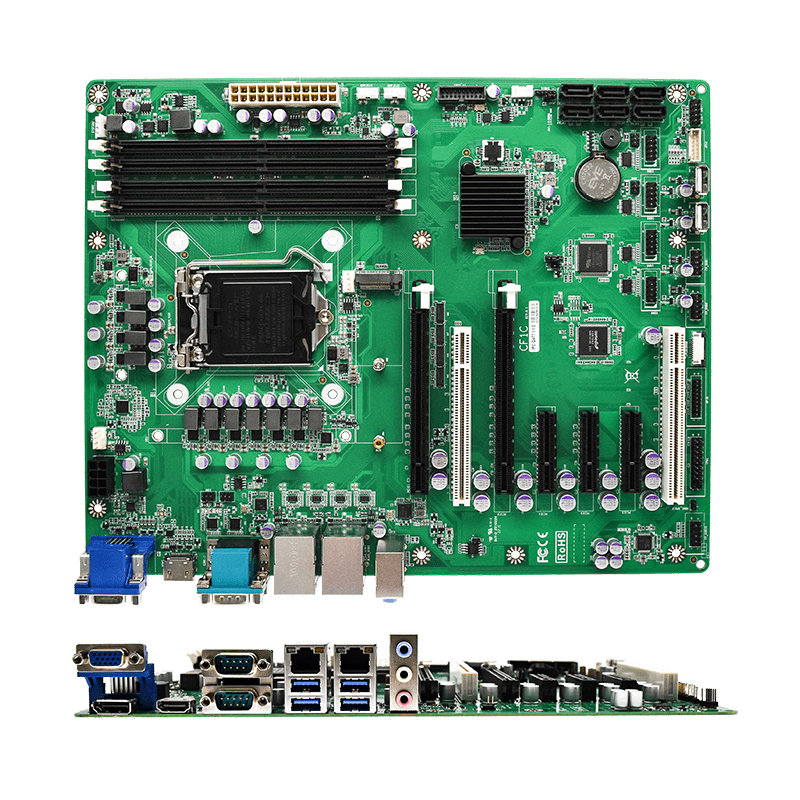
Carefully remove the protective cover on the CPU socket found on the motherboard. Align the notches on the CPU with those on the socket, and gently place the CPU into the socket. Do not apply excessive force. Once the CPU is properly seated, close the socket cover and secure it in place according to the motherboard's instructions.
Insert the RAM modules into the memory slots on the motherboard. Ensure that the notches on the RAM slots align with those on the RAM modules. Apply even pressure on both ends of the modules until they click into place.Next, connect the storage devices (HDD/SSD) to the motherboard using SATA cables. Insert one end of the cable into the storage device and the other end into the corresponding SATA port on the motherboard.
Connect the power supply unit (PSU) to the motherboard. There will be a 24-pin power connector that needs to be firmly inserted into the corresponding port on the motherboard. Additionally, connect the CPU power connector (usually 4 or 8 pins) to its designated port on the motherboard.If you have any expansion cards, such as a graphics card, carefully align the card with the appropriate PCIe slot on the motherboard and firmly push it into place. Secure the card using screws or latches, depending on the design of your case and graphics card.
By following these step-by-step instructions, you should now have successfully installed an ATX motherboard into your computer. Remember to double-check all the connections and ensure that everything is securely fastened. Once completed, you can now proceed to connect the necessary peripherals, such as the monitor, keyboard, and mouse, and power on your system. Enjoy your newly built or upgraded PC with its powerful ATX motherboard!